Before dispatch, confirm that the next delivery wave can reach its assigned rooms through the agreed route during the agreed window. Release the goods or hold them for a recorded reason. FF&E means furniture, fixtures and equipment. A building described as nearly finished may still have blocked access, unprotected destinations or conditions unsuitable for the products arriving.
Use this checklist by the decision deadline agreed with the warehouse, carrier and installer. Recheck the route and destination when circumstances change. Use the readiness record to decide whether that delivery wave can proceed; the installation and logistics guide explains the wider delivery chain.
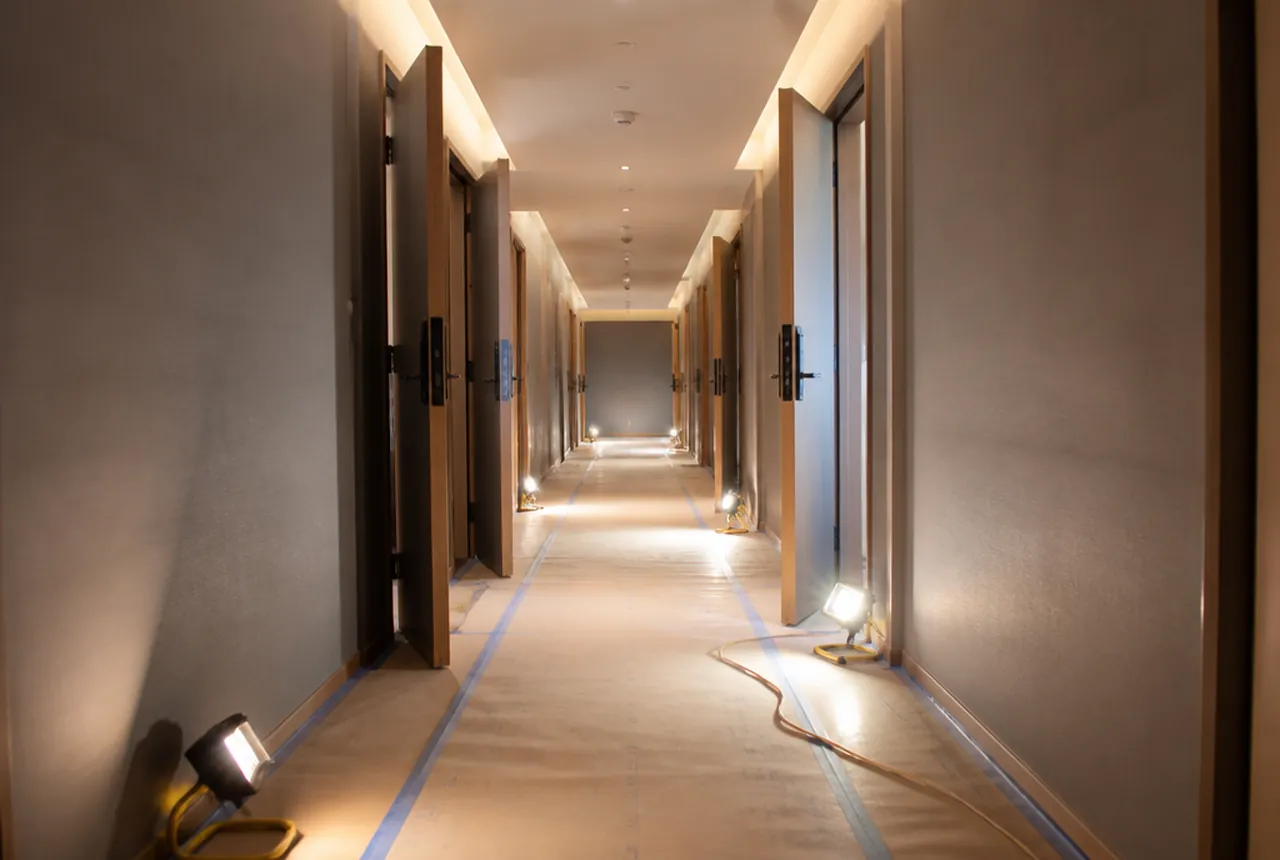
Define the wave and its decision deadline
Identify the floor, wing or individual rooms in the proposed wave, with a current room list and item allocation. State what arrives packed, what will be assembled on site, and what will remain in staging. Include the largest packed item and the handling equipment in the route review, not only the dimensions of the finished furniture.
Agree the last practical decision time with the parties booking loading, transport and labour. Record cancellation, changed-load and holding arrangements from the actual agreements. There is no universal rule that every readiness decision must occur a fixed number of days before delivery.
Name the person authorised to release or stand down the wave, the site contact who controls access, and the people who verify construction and installation conditions. Have an agreed fallback: continue warehouse holding, revise the load to a ready zone, or change the delivery window. Confirm what each option requires before it is needed.
Verify the unloading point and complete route
Confirm the truck and unloading arrangement against the actual approach, dock or ground-level receiving area. Check any local access restrictions, turning and overhead constraints, delivery booking, and who keeps the unloading area available. Record the carrier’s confirmation of the service supplied.
MityLite’s delivery instructions distinguish liftgate unloading to ground level from carrying furniture inside, unpacking, assembly and placement. Use that distinction to check the actual order and levelled delivery scope. A booked liftgate does not close an unassigned inside-movement task.
Walk the route to every destination in the wave. Record clear openings, doors, thresholds, turns, temporary works and any shared work areas against the packed items and proposed handling method. Use measured clear dimensions, including protection or temporary obstructions already installed. A corridor’s width alone does not verify that a long packed item can negotiate its turn.
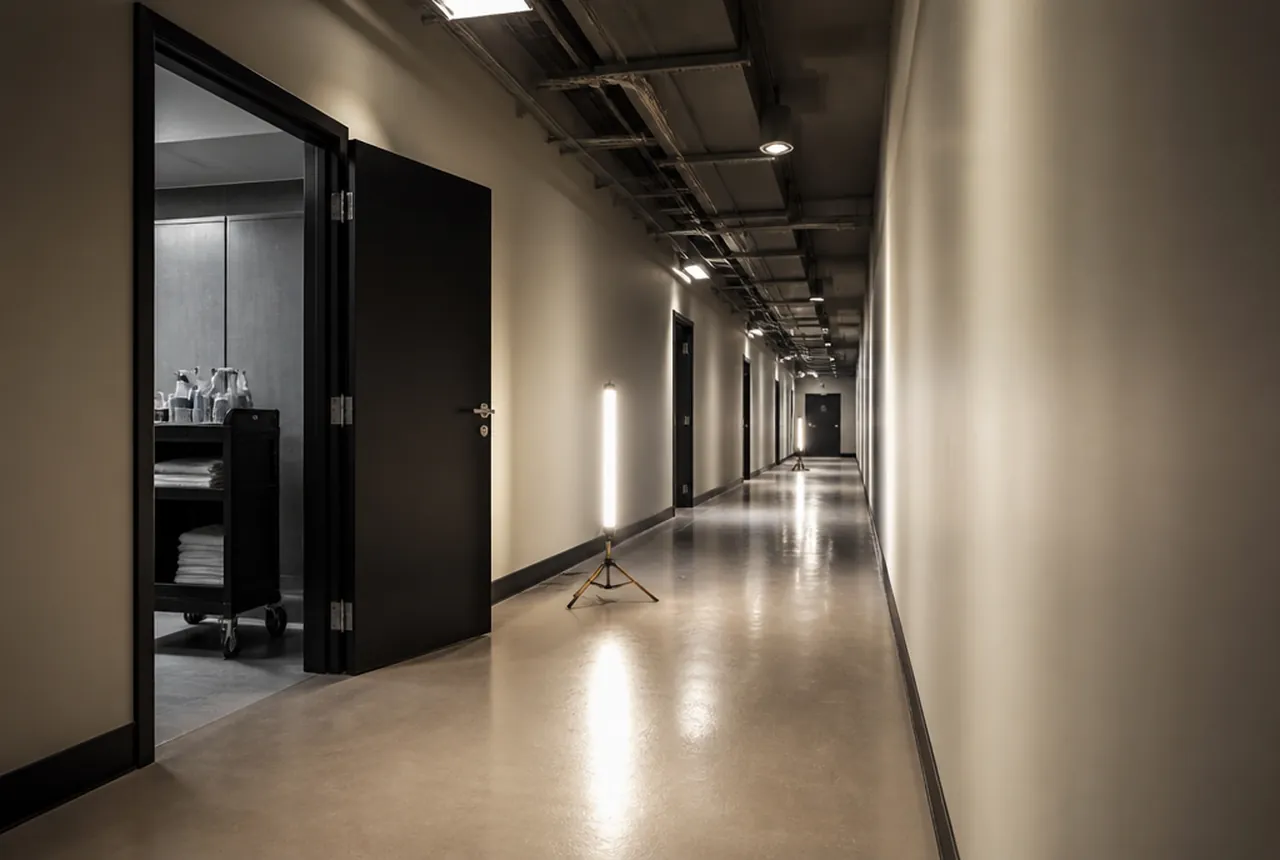
Where a lift is used, obtain confirmation from the responsible site party that it is available and authorised for the planned movement. Verify the door and car dimensions, permitted load and proposed combined load of goods, equipment and people. Record the reserved window, operator/access arrangements and protection. Do not infer permission from a running construction lift or resolve a capacity problem by improvising a lift.
If the route has not been verified for the load, keep that wave held. Have the installer and responsible project team agree a feasible alternative and its scope before changing packing, assembly or access arrangements.
Accept the destination and its protection
Check the specific rooms, not just the floor’s reported completion percentage. Identify remaining work that could conflict with the movement or exposed furniture, and agree how the delivery zone will be controlled. Record the trade sequence, cleaning status and any item-specific prerequisites such as support, fixing locations or completed connections.
Compare those prerequisites with the current specification and drawings. Loose chairs and a wall-fixed unit do not have the same installation dependencies. Obtain the relevant completion evidence from the responsible trade rather than having the receiving crew declare technical work complete.
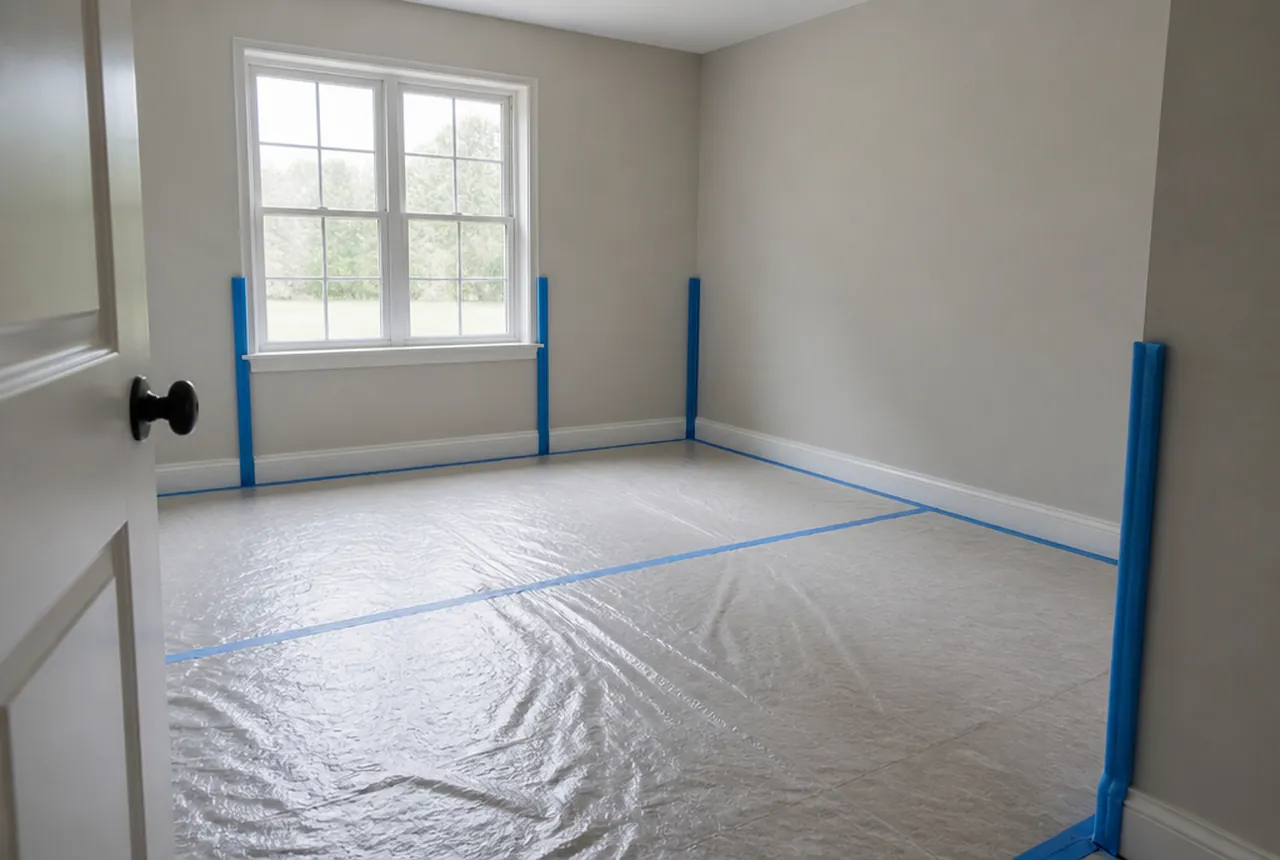
Inspect floor, wall, jamb, corner and lift protection along the route and in the rooms. Have the responsible party confirm that the protection suits the actual finish and handling activity, including any curing or care restrictions provided for newly finished surfaces. Name who reinstates it if another trade removes it.
Check product conditions, lighting and services
Collect storage and installation conditions from the manufacturer and the project’s applicable requirements. Record how the destination meets them, including any specified conditioning or environmental observations. Avoid substituting one generic temperature or humidity range for every material.
AWI 200 addresses temperature, relative humidity and handling for architectural woodwork and related finishes before, during and after installation. That scope is a reason to obtain the relevant woodwork conditions, not a universal specification for all FF&E.
Confirm enough lighting to move and inspect the items through the full route. Identify the power arrangements needed for the installer’s tools. For powered furniture or fixed connections, have the responsible technical party confirm the prerequisites and who is authorised to make the connections. A visible socket is not proof that the specified service is ready.
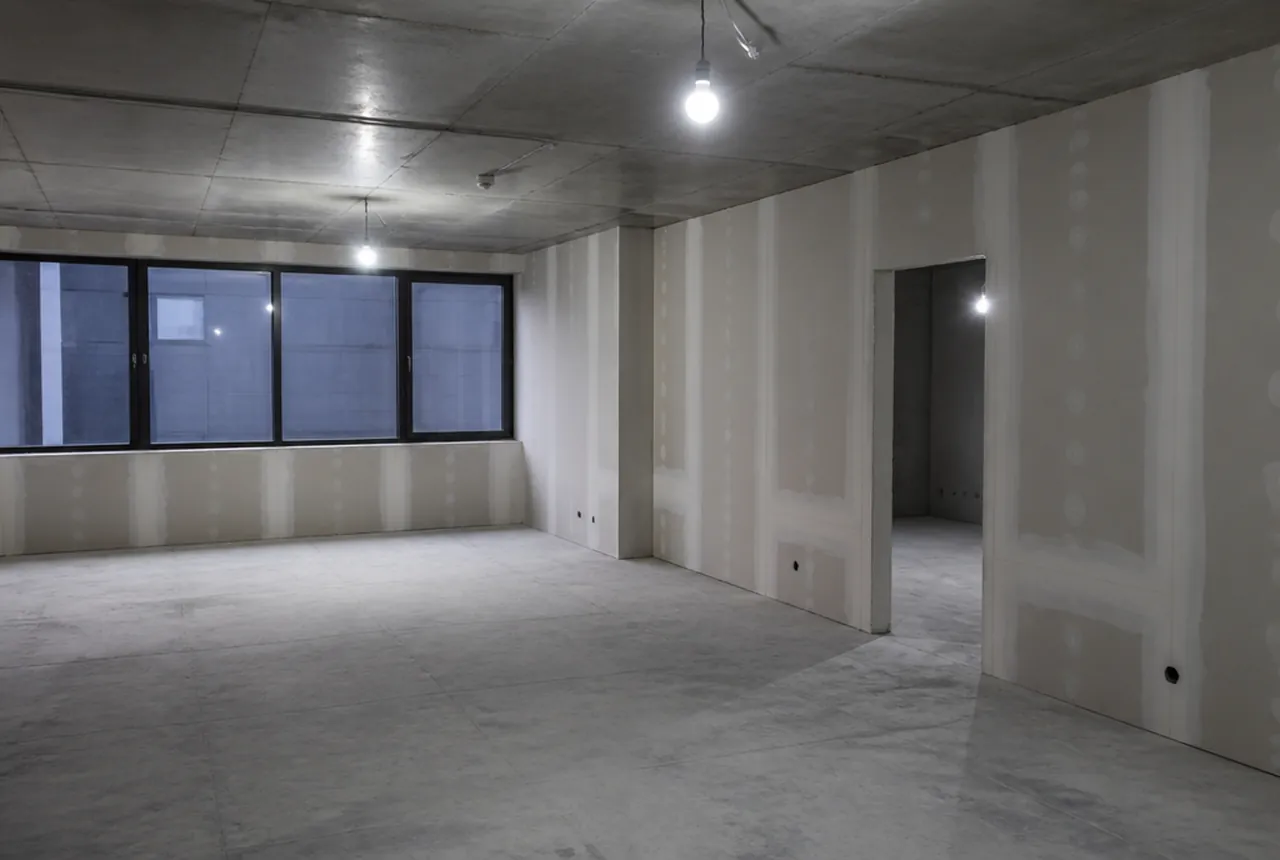
Record wet or dust-producing work still planned in the zone and its relationship to the proposed products and protection. If temporary site conditions are being relied on, state who provides them, how long they will remain available and what happens if they fail. A readiness record should survive the delivery window rather than describe a single convenient moment.
Reserve staging, security and the waste route
Identify where goods can wait while the installer places them. Check the usable holding area against the actual load and sequence, with access and required product conditions maintained. Include inspection holds and damaged or wrong items so they do not re-enter the accepted installation flow accidentally.
Assign access control, keys and custody during working hours and overnight. Decide how the receiver identifies rooms, item codes, quantities and exceptions. Keep the purchase-order and approved-reference information available to that person; site readiness does not replace receiving inspection.

Agree who collects packaging, where it waits, how it leaves and whether removal is included in the install scope. Check that staged goods, waste and handling equipment can coexist without occupying routes that must remain available. If the load exceeds the agreed staging or placement capacity, revise the wave rather than treating the corridor as overflow.
Use a decision sheet with evidence and open conditions
Complete one sheet per wave and retain the observations behind it. The table below is a proposed working format. Assign actual owners from the project agreements instead of assuming every responsibility belongs to the contractor or installer.
| Check | Evidence to attach or reference | Decision entry |
|---|---|---|
| Wave identity | Room/item list, quantities and packed-load references | Accepted scope and revision |
| Access and route | Measurements, photographs and handling review | Pass or hold, with affected items |
| Dock/lift booking | Service, permission, window and contact confirmation | Confirmed or unresolved |
| Destination/protection | Room walk, trade clearance and finish requirements | Ready zone and exclusions |
| Product conditions/services | Manufacturer requirements and responsible-party confirmations | Met or held conditions |
| Staging/receiving/waste | Area, capacity, custodian, receiver and removal plan | Assigned or open tasks |
| Release/fallback | Authorised decision, dispatch contacts and recheck trigger | Release, partial release or hold |
A partial release must identify the actual ready rooms and goods removed from the load. In an illustrative wave covering rooms 201–212, a verified route to 201–208 does not approve delivery to 209–212 if that corridor is still obstructed. Ask the warehouse and installer to confirm the revised load and sequence before releasing only 201–208.
Give each hold an owner, required evidence and recheck time. If the same obstruction is cleared later, retain the earlier observation and record the new result. Keep dispatch and crew instructions aligned with the decision; do not leave one team acting on a superseded release.
Recheck before arrival if access bookings, weather exposure, trade activity, protection or room conditions have changed. The final record should let the carrier, receiver and installer identify the released scope and the person who can resolve an exception. Keep it with the procurement record so the delivery decision remains traceable after the goods enter the building.